Showing posts with label 12 Weeks. Show all posts

Monday, December 27, 2010

Week 10 - Landscapes

There was a list of 10 goals for this week, but I couldn't get them all (No time to get up Mt. Diablo for a "bird's eye view" LOL)

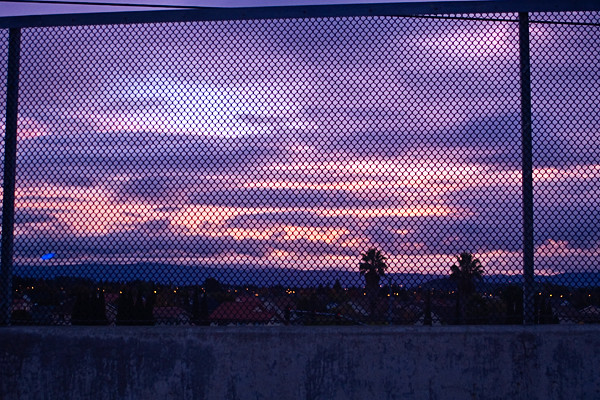
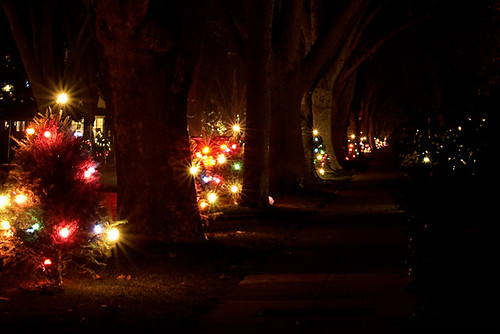
Nighttime Scene / Use lines to lead the eye
Image shot at f/11, ISO 800, 6 ss, 35-70mm @ 35mm

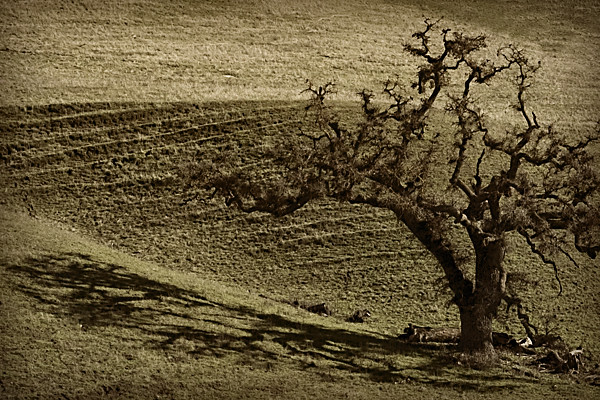
Play with shadows
Image shot at f/8, ISO 800, 1/1600ss, 35-70mm @ 70mm

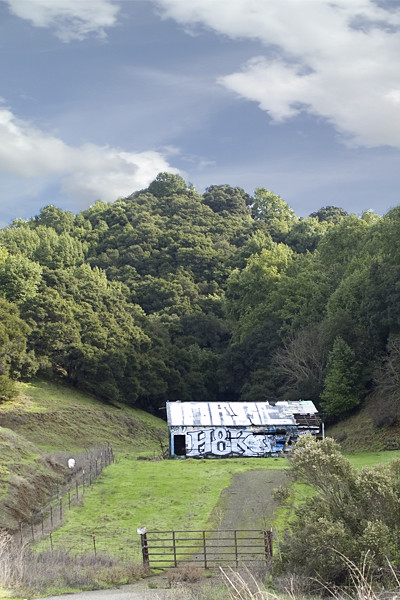
Consider an urban landscape
Image shot at f/2.8, ISO 800, 1/50ss, 35-70mm @ 35mm

Pay attention to composition
Image shot at f/8, ISO 800, 1/1600ss, 35-70mm @ 70mm

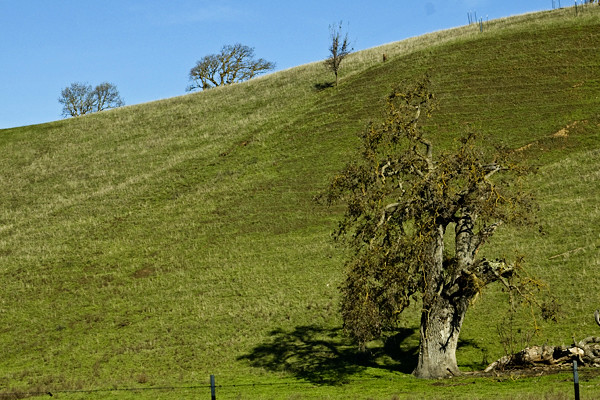
Find a focal point

Friday, December 10, 2010

Week 9 - Portraits

This week is covering portraits; again, as these weeks go on, they get a little more and more vague... but here's basically the assignments.

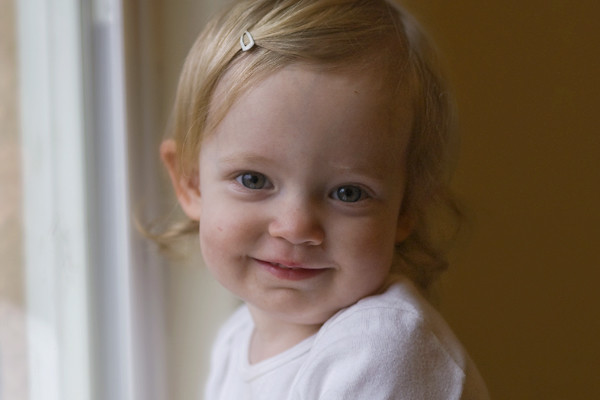
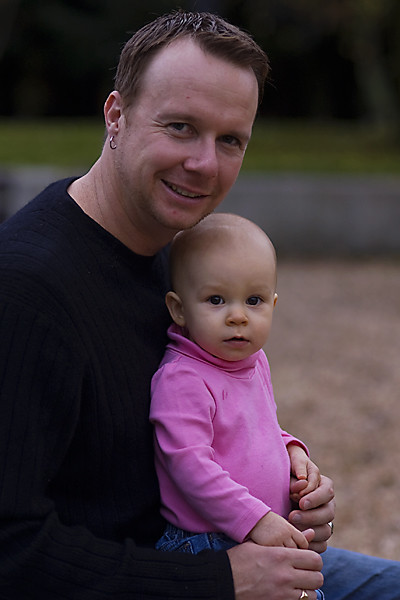
Portrait of an individual - I shot a few that would count for this over the last week or so, so I've got a few that, IMO, all count as "portraits"
Image shot at f/2.5, ISO 800, 85mm

Image shot at f/2.8, ISO 400, 35-70mm @ 52mm

Image shot at f/1.8, ISO 800, 85mm

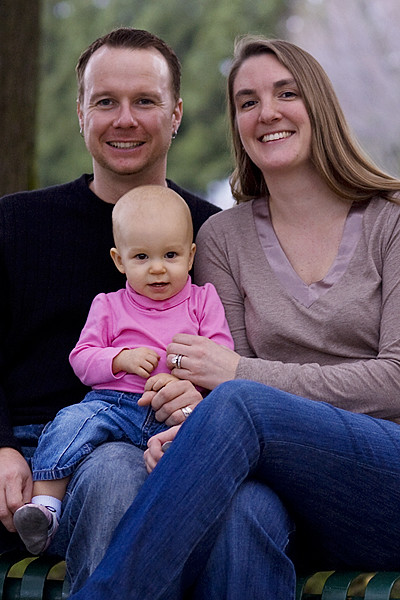
Portrait of a group - I was limited to families for my "groups" but I'm happy with them!
Image shot at f/2.5, ISO 200, 85mm

Image shot at f/3.2, ISO 200, 85mm

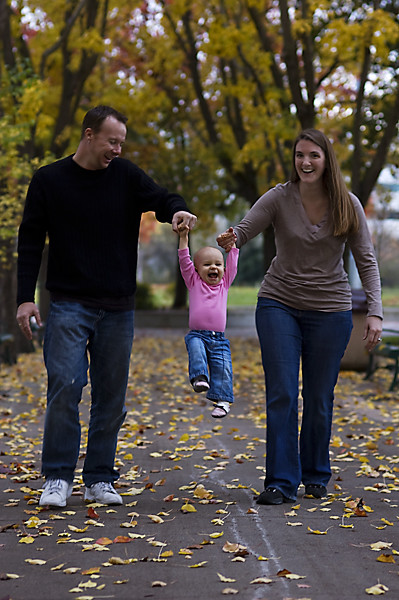
A "keep it casual" group portrait
Image shot at f/3.2, ISO 200, 85mm

Image shot at f/4, ISO 400, 35-70mm @ 40mm

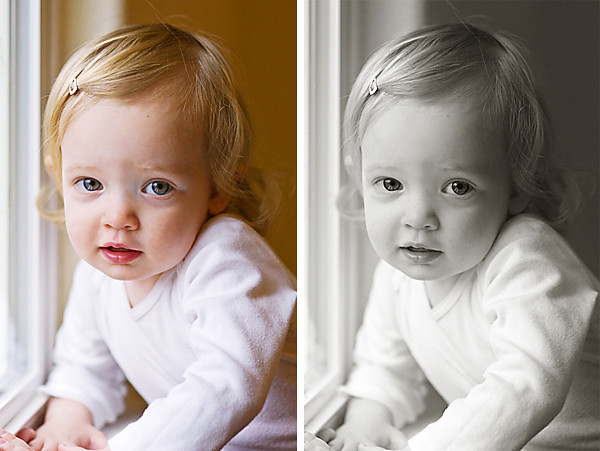
Convert a portrait to black and white (I used the FREE Creamy Chocolate B&W action from the CoffeeShop Blog... love it!)
Image shot at f/2.5, ISO 800, 85mm

Saturday, December 4, 2010

Week 8 - On the Go

This week was mostly about motion and shooting motion. (I think. The point of the lessons seems to be getting more and more obtuse as the weeks go on...) It covered different approaches to capturing motion, and then the assignments were to practice some of those approaches. (And pet photography. Random, right?)
I don't love any of these photos, really (except the last one, with the puddle), but I was more concerned with getting the concept down than worrying about perfect exposure/shutter speed/post-processing.
I think I got the jist of it, and will certainly be keeping this in mind in the future.
With that said, the photos!

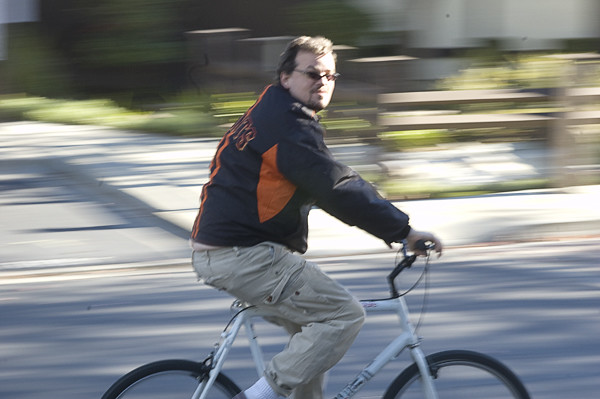
Use the "panning" technique to capture a subject in motion. Panning is having the camera moving at the same speed as the subject, to increase the background blur and emphasize the motion.
Image shot at f/16, 1/25ss, ISO 400, 85mm


Embrace the blur; allow some part of your photo (taken indoors) to go out of focus to show the action/motion in the image
Image shot at f/2.8, 1/13ss, ISO 800, 35-70mm @ 70mm


Catch your pet in action; Geoffrey doesn't do much "action" but this is a nice photo of him! LOL
Image shot at f/1.8, 1/60ss, ISO 800, 85mm


Use a fast shutter speed to freeze the action
Image shot at f/1.8, 1/1600ss, ISO 800, 85mm

Tuesday, November 23, 2010

Week 7 - Shooting Outdoors

So the topic is "shooting outdoors," but the assignment was to shoot macro (super close up). I don't actually have a specific macro lens, so I had to make do... I zoomed in as close as I could, and then (more for my own curiousity) cropped in as close as I could to see what happened... in chatting online with others on my photo board, someone mentioned that putting an SLR on "macro" mode doesn't really *do* anything; it just sets the aperture as large as possible, making a shallow DoF.
I also have a little point and shoot Olympus, so I tried the same shot utilizing the macro mode that's built in to the camera, and without macro turned on, just as zoomed in (optical) as I could go.

From my SLR, SOOC for composition
Image shot at f/4.5, ISO 800, 18-70mm @ 70mm


And that same image, just cropped in to get a truer "macro" look


Here's the same set-up shot in Auto (non-macro) mode with my Olympus (notice that the flash fired, darkening the background and putting quite a bit of distracting glare on the highlight points... this is the only image of the three posted here that had flash)
Image shot at f/5.4, ISO 320, 18.4mm


SOOC from my Olympus point and shoot, set to Macro mode
Image shot at f/2.7, ISO 64, 4.6mm


And again, the same image cropped down


It's hard to choose which image I think is "better," I really like the background blurring on the SLR shot, but the P&S shoot was able to get closer in... until I'm able to save my pennies for a true macro lens, I'll have to pick and choose which option shown here better suits my situation!

Thursday, November 18, 2010

Week 6 - Shooting Indoors

I've long known the "put your subject by a window" trick for indoor photography, but I've never put much thought into actually using that light to my advantage.
My friend and "model," Laney, is due to deliver her first baby any minute now... she's 39w6d in these pictures! Gorgeous, right?

Put subject near a window in indirect light and meter for the subject
Looking back, I wish I'd had a sheer curtain or something to cut the harshness of the light for this one; the front of her belly is so close to blown, softening that light might have given a better effect.
Image shot at f/2.2, ISO 400, 85mm

Then take the same photo, but meter for the background
This is the same approach I used for our silhouette photos the other day; doing it indoors? A new idea for me! :)
Image shot at f/4.5, ISO 400, 18-70mm @ 55mm

Put your subject parallel to the window and place yourself (me) perpendicular to it:
Image shot at f/4.5, ISO 400, 18-70mm @ 50mm

Get catchlights in the subject's eyes by getting in between them and the light source. I'm standing with my back to the window here, with Laney further into the room. Catchlights are the little flecks of light in her eyes; making them seem much more "alive" (I think this is my favorite of the photos; getting her further back from the window really helped!)

Image shot at f/3.8, ISO 400, 18-70mm @ 27mm

Sunday, November 14, 2010

Week 5 - Composition

This week's subject is/was composition; how you actually frame the subject within the photo. I actually had a LOT of trouble with this assignment! I can't decide why exactly... I think it's a combination of things. First, this is something I'm really comfortable with already, that comes pretty naturally to me, so it's hard to switch to where I'm consiously thinking about it. Also, the assignment was so vague, I had trouble deciding what to do! LOL
The white balance assignment was simple; set an object on the table and take some pictures of it. Same with the aperture one... this is totally open to interpretation, so I had trouble deciding which direction to head in!
In a perfect world, I would have done a shoot with Max; well dressed, clean faced, and just run through the six assigned objectives.
As we all know, none of live in a perfect world, so I've had to make do! Boogery faced Max, a coffee cup, and some pictures I had taken previously are the elements that came together to complete this assignment!

First, the pictures I did manage to get "on purpose" for this challenge:
Fill the Frame
Image shot at f/4.5, ISO 800, 18-70mm @ 70mm

Rule of Thirds
Image shot at f/4.5, ISO 800, 18-70mm @ 48mm

Horizon Line / Rule of Fifths
Image shot at f/3.8, ISO 400, 18-70mm @ 22mm
And in the interest of full disclosure, I Photoshopped the *hell* out of this picture, because I'm not generally a fan of sunflare/glare, and I wanted to get as much of that effect out of it as I could. I actually think it turned out kind of cool! If you'd like to see the SOOC shot, click here


And then here are some older/not taken on purpose photos that fit the specs of the assignment:
A New Perspective
We took Max to the beach last month; my instinct and first inclination is to shoot stuff like this:

Image shot at f/10, ISO 800, 18-55mm @ 52mm
He's my kid, after all, so I want to get good shots of *him*
But look what happens when I make him smaller in the frame, zoom back out, and hold the camera horizontal:

Image shot at f/13, ISO 800, 18-55mm @ 18mm
It's not just about Max anymore, but about the scene surrounding him as well.

Frame Your Subject Image shot at f/6.3, ISO 1600, 18-55mm @ 18mm


Keep it Simple
This picture could easily have gone horrible awry; see the little triangle of bench in the bottom left corner? It's attached to a picnic table that is *covered* with food, toys and other detritus. By positioning myself so that that mess is cropped out, I got a darling shot of the boys!
Image shot at f/10, ISO 400, 18-55mm @ 32mm

Sunday, November 7, 2010

Week 4 - Flash

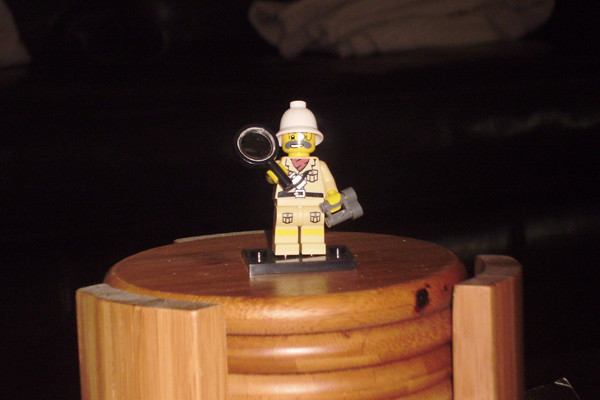
The assignment: To demonstrate how flash can be used in situations other than just darkness, the actual assignment was actually three parts, but due to uncooperative weather, I couldn't really do all three, so I just did one... use fill flash to combat a backlit subject.
It's pouring down rain here this morning, and Max is napping, so I set up this little toy still life instead... it's under the overhang in our backyard, with decent light outside, but raining... not usually good, but great for creating a backlit situation! LOL

This was shot with the camera on "Auto" mode: f/4.5, ISO 560, 18-70mm @ 70mm


Shot at f/4.5, ISO 800, 18-70mm @ 70mm


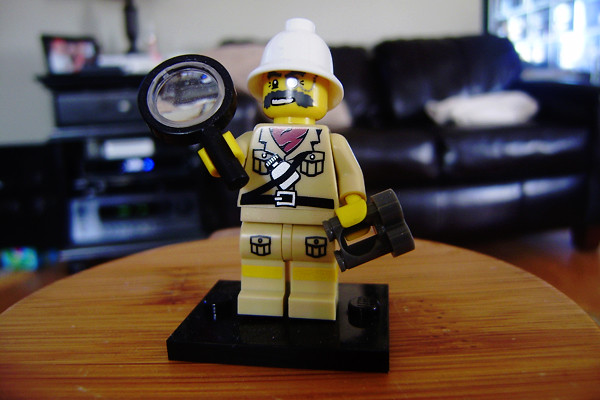
And then here I left the settings the same as above, but forced the flash to go off, brightening up the dark foreground and filling in the shadows.
Image shot at f/4.5, ISO 800, 17-70mm @ 70mm

Monday, October 25, 2010

Week 3 - Light

The Assignment: Take a photo of a specific object using a variety of preset white balance options and then set a custom white balance and shoot using that.

All photos shot at ISO 800, f/5.6, using my 18-55mm lens at 32mm

Auto WB


Tungsten WB (On my D50, it's labeled as "Incandescent")


Flourescent WB


Custom WB (Created by shooting a piece of white paper and setting it based on that image)


For me, the interesting thing is how close the flourescent and custom white balances are... the light fixture in my dining room (where I shot these) has CFL bulbs in it; I'm going to reshoot this tomorrow in my living room to see if I get different results.

In thinking more about these, I decided that maybe it's weird because the pumpkin isn't a bright white, it's more a pale beige... so I reshot, using a white Apple mug I have. The results:
Auto WB

Incandescent WB

Flourescent WB

Custom WB

Week 2 - ISO & Shutter Speed

I know it hasn't really been a week, but I'm trying to get caught up with a group that's been at this since the beginning of the month! LOL Bear with me!

The assignment: The Kitchen Sink Test. Photograph running water at a high shutter speed and a low one to see the difference effect it has on the moving water.

Both photos shot using "S" (Shutter Priority) mode, at 55mm, ISO 1600

Shutter speed: 1/320 s (f/5.6)


Shutter speed: 1/13 s (f/13)

Week 1 - Aperture

The assignment: Take 3 photos of the same thing, using the lowest possible aperture, a mid-point aperture and the largest possible aperture.

f/5.6, ISO 200, 18-55mm lens at 55mm, focusing on the "H" block


f/10, ISO 200, 18-55mm lens at 55mm, focusing on the "H" block


f/36, ISO 200, 18-55mm lens at 55mm, focusing on the "H" block