Showing posts with label Experimenting. Show all posts

Sunday, February 20, 2011

Rear-Curtain Flash

I read a tutorial on my photo board about how to get this effect, and thought I'd give it a try... it was super easy to do, and I can't wait to try it with a better subject that our stereo equipment! LOL
Shot with my D50 and using an SB-600 Speedlight; the flash settings were all default; the only change I made was to set my camera's flash setting to "rear," which means the flash pops at the *end* of the exposure instead of the beginning.
I set the camera to take a 3 second long exposure and pressed the shutter. I made the figure 8 shape, and then the flash popped, freezing the image in the same frame as the blurries, and as the flash popped, the shutter closed.
Ta dah! Cool light effect!

I have some ideas to do some outdoor nighttime portraits using this, but I might need to wait until we get warmer nights... stay tuned!

Saturday, February 19, 2011

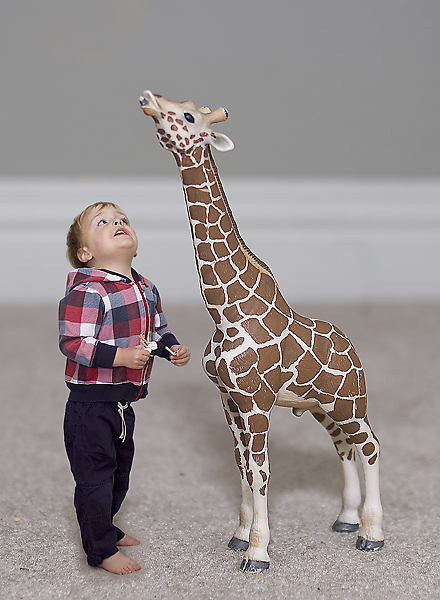
Larger Than Life

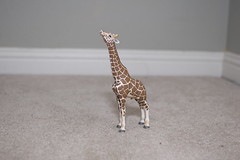
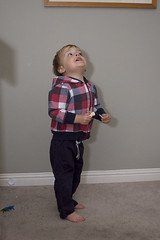
Max and the giraffe. Actual sizes, 37" and 8", respectively.
Composited from two images:

Monday, December 13, 2010

Photographing Ornaments

I've always gotten ornaments for Christmas, and it's a tradition we've continued as a couple and now as a family. A couple of years ago, as we were decorating our tree, I realized that I was starting to forget some of the stories that go with the ornaments, so I've been wanting to photograph them all, and then write down the stories that go with them
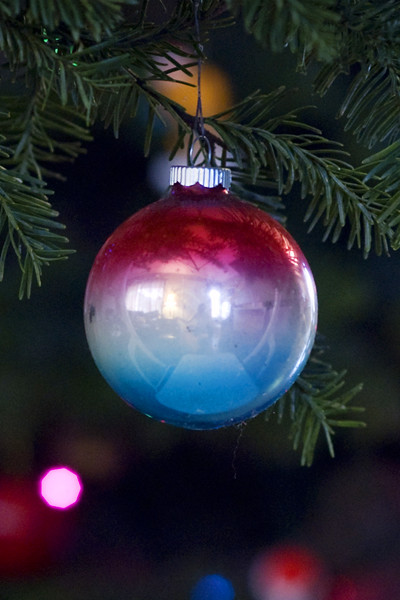
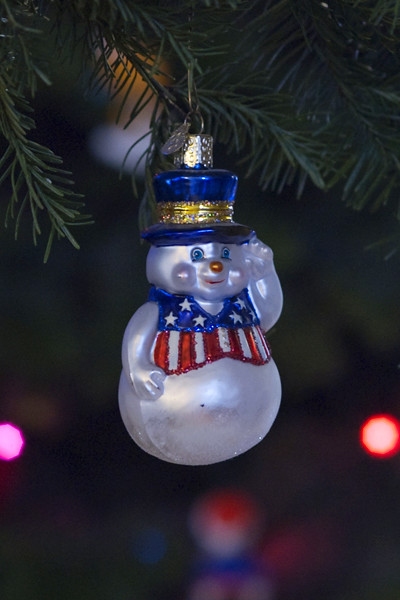
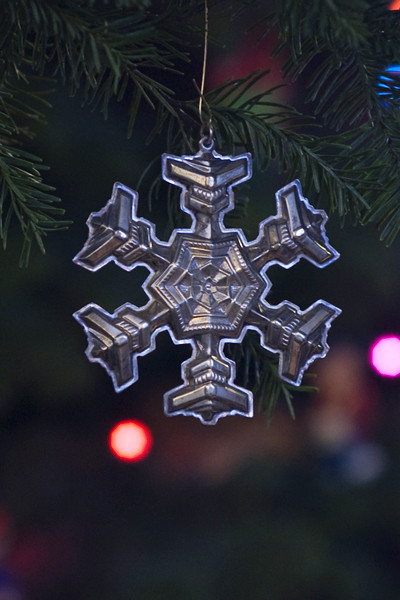
I found myself with a little time last night, and decided to start shooting... I took pictures of each ornament as it hung on the tree, and I got stuff like this:

It's not terrible, but I knew I could do better.
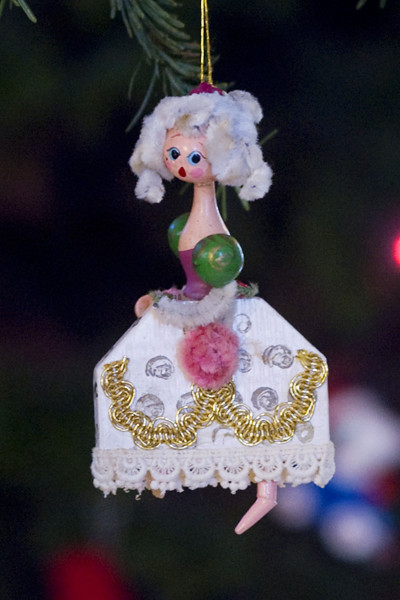
And today, I did! Check it out!

What's different? Well, let me show you! First things first, I took the ornament off the tree!
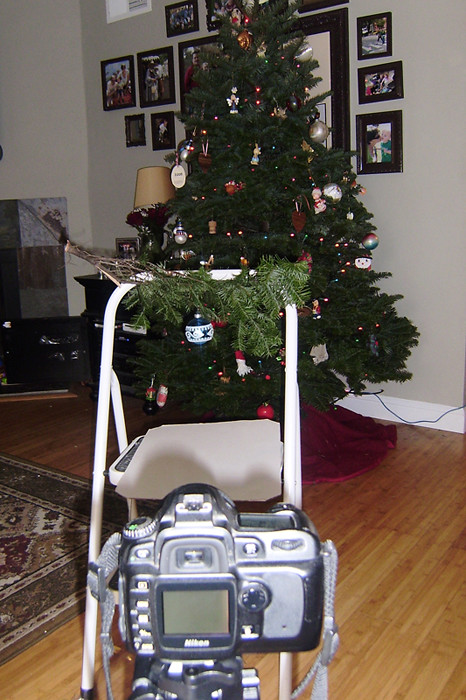
Let me show you my setup:

See it? So I took a spare branch that we'd trimmed off the tree, and using a couple of zip ties, I attached it to the top crossbeam of our old stepstool. Next, I positioned it about 5 feet away from the tree, and put my camera on the tripod about 3 feet from the stepstool. (I shot at f/3.5, ISO 800 (Probably could have gone a little lower), using an 85mm lens) I hung my ornaments on the branch attached to the stepstool and shot my little heart out!

By moving the focal point (the ornament of the moment) further away from the background (the Christmas tree) I was able to get some lovely Christmas-ey bokeh in the background, but the little bits of branch around the ornament pull it all together for a nice cohesive look.

I can't wait to get them all finished, but here are a few more for some inspiration! (I'd love to see your photos if you do a similar set-up!)


Sunday, November 21, 2010

Upload and Display Quality

In my previous blogging experience, I uploaded tons of photos, mostly to share Max's development with friends and family; the quality of the display was never much of a concern to me... I'd noticed some image loss with Blogger, but it was never enough to bother me at all.
Now that I'm paying more attention to my photography, and as I participate in various classes and challenges online, I'm looking to get what appears online to appear more like what I see on my computer screen.
(This is especially important to me as I spend more time in editing and post-processing; I spend a bunch of time making an image look *just so* and then upload it, to see the colors get tweaked and the photo get pixelated/filled with artifacting.

I'm going to upload the same digital file to a variety of sources; it's a 400 x 550 pixel, RGB jpeg image, saved from Photoshop at maximum quality (12)

First, uploaded straight to Blogger, using their image hosting:


Now, I'll upload the image to some other hosting sites and compare what happens.

Flickr


Walagata (An inexpensive hosting site I've been using for years)


Tinypic
Image and video hosting by TinyPic


Facebook


Pretty much, it appears that the Blogger hosting is the only one that zaps the image quality quite so dramatically... I'll continue using it for my other blog, to share photos for my parents and in-laws... for for this blog, for this project, I'll be uploading to Flickr and posting that here, to get better image quality. As an added bonus, you'll notice my images will be a tad larger as well...

Monday, November 8, 2010

Adding Texture in Photoshop

I've long been fascinated by the look of textures on photos; the effect can vary from grunge-y to Victorian to graphic to...only your imagination is the limit!
I'd never made an effort to actually play with them, though, because I never felt like my photos were right for them! But again, the purpose of this blog is to add to my knowledge and skillset, so I might as well play with them, right?

This is a photo I shot at the pumpkin patch over the weekend Shot in RAW at f/6.3, ISO 400, 1/160 SS, 18-55mm @ 30mm

Bringing it into Photoshop, with all RAW setting zero'ed out:

The original image with some ACR (Adobe Camera Raw) adjustments made:

From here, I started adding some different textures to see what they do to the photos; all of these textures were found on Flickr, using the Advanced Search. (Make sure to click the "Creative Commons" licensing button at the bottom, so you can be sure you have permission to use the photos!) If you're already confused, go here for a super easy explanation on how to use textures! Seriously, it's like 3 steps!
Several of these aren't things I'd ever actually use, but for the purposes of this blog entry, I wanted a variety of options, so I'm going to go ahead and include them.

OK, so on to my experiments...


You can also layer the textures together to get even more options! For this one, I used two; the first and fourth ones shown above. I used a fabric texture first, to give the whole photo a nice rich texture and sheen, and then the radiating burst just added a little *oomph* to bring the focus to their faces!

So that's the super mega basics of using textures in Photoshop! I'd love to see what you come up with too!

Wednesday, October 27, 2010

Playing with RAW

I've always known that RAW existed as a way to shoot digital; I knew my camera could do it. I was also totally intimidated. I read an article once that said that National Geographic photographers shoot in RAW because you can't create a RAW file, so it was a way of proving ownership of an image (or something. It was a long time ago) I knew it allowed a greater level of control in post-processing, but I was only shooting snapshots, so I was fine with the occassional playing around in Photoshop, and I didn't feel the need to switch.
Now that I've switched (to RAW) I can't imagine going back to JPG!

I took Max to a pumpkin patch near my parents house today; it was just the 2 of us, which was nice, but I'd wanted to stop and steal (I mean borrow; I had permission!) one of my dad's nice lenses... as I dug through his camera bag, I saw his 85mm 1.8 and snagged it.

Here's an example of what RAW can do for you! :) (SOOC means Straight Out Of Camera)


Images shot at f/2.2, ISO 400, 85mm