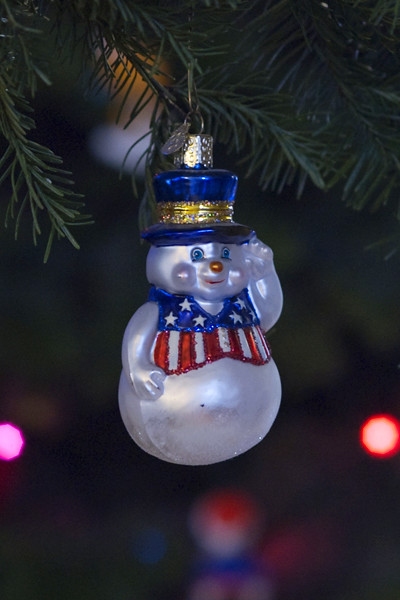
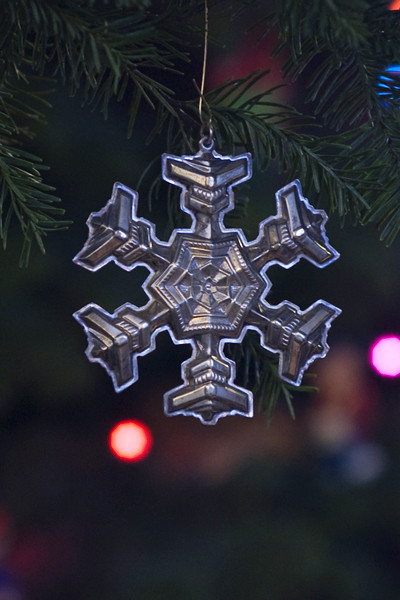
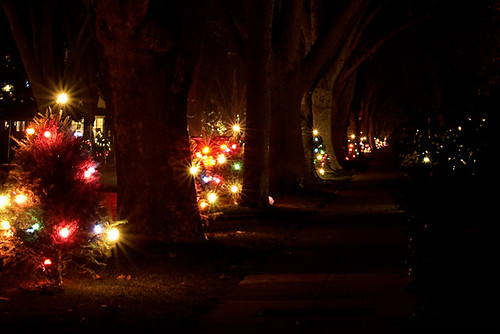
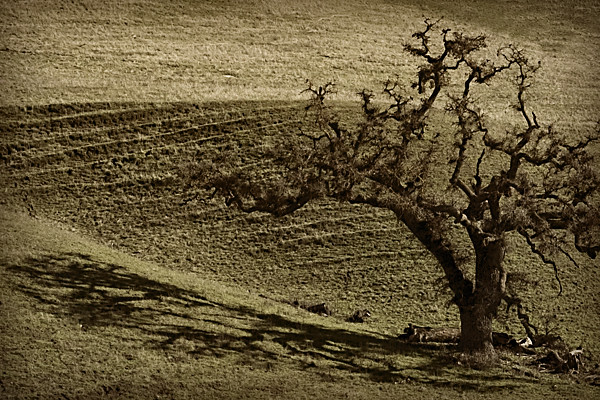
There was a list of 10 goals for this week, but I couldn't get them all (No time to get up Mt. Diablo for a "bird's eye view" LOL)
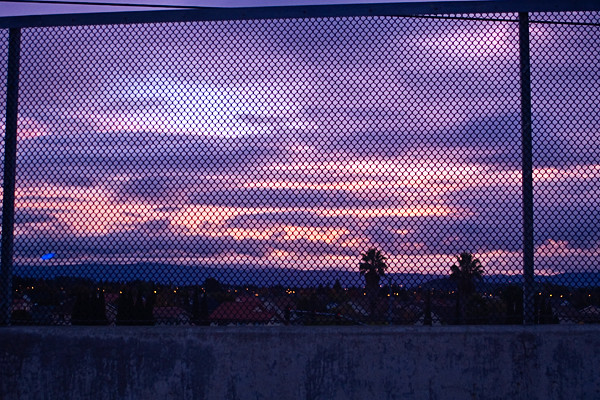
Nighttime Scene / Use lines to lead the eye
Image shot at f/11, ISO 800, 6 ss, 35-70mm @ 35mm
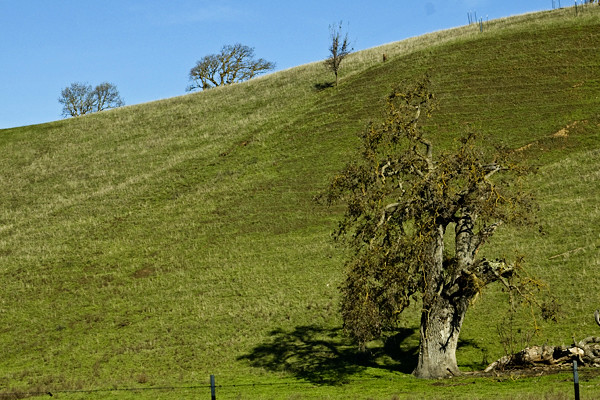
Play with shadows
Image shot at f/8, ISO 800, 1/1600ss, 35-70mm @ 70mm
Consider an urban landscape
Image shot at f/2.8, ISO 800, 1/50ss, 35-70mm @ 35mm
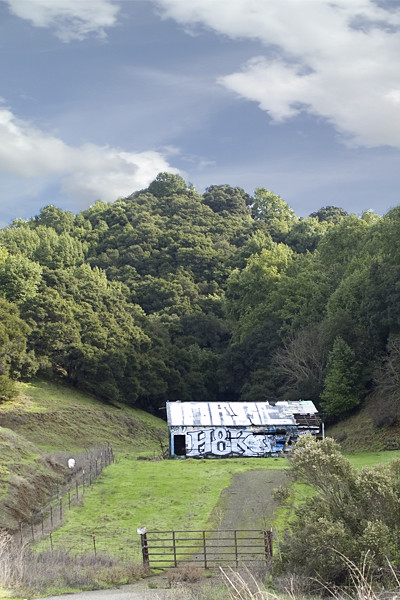
Pay attention to composition
Image shot at f/8, ISO 800, 1/1600ss, 35-70mm @ 70mm
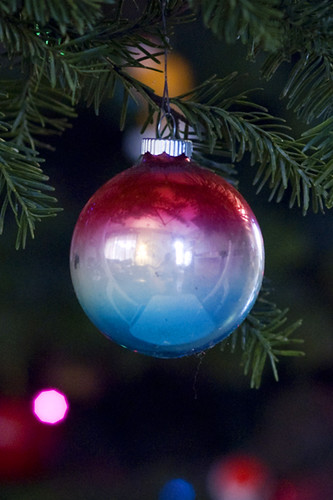
Find a focal point
Monday, December 27, 2010
Thursday, December 23, 2010
Holiday Top Ten
The challenge was to make a list of the first ten holiday/Christmas related things that you thought of, then to capture each one in a photo some time during December. So, in no particular order (other than the order in which I shot them!), my ten things!
1. Christmas Tree Lane Image shot at f/11, ISO 800, 6ss, 35-70mm @ 35mm
2. Ornaments Image shot at f/3.5, ISO 800, 1/15ss, 85mm
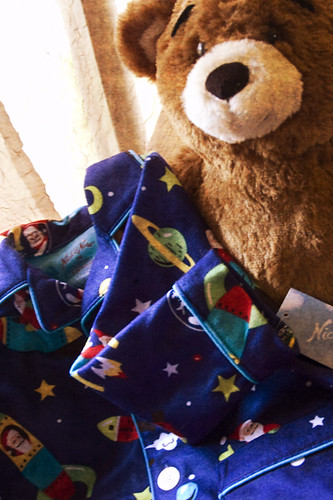
3. New Christmas PJs Image shot at f/4.5, ISO 800, 18-70mm @ 18mm
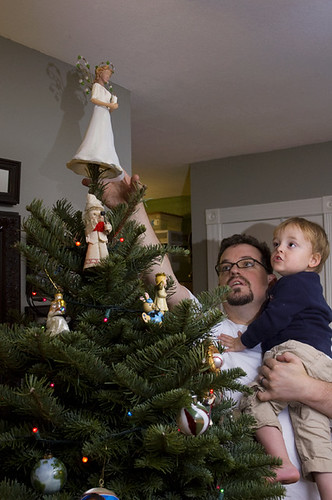
4. Tradition Image shot at f/6.3, ISO 800, 1/60ss, 18-70mm @ 29mm
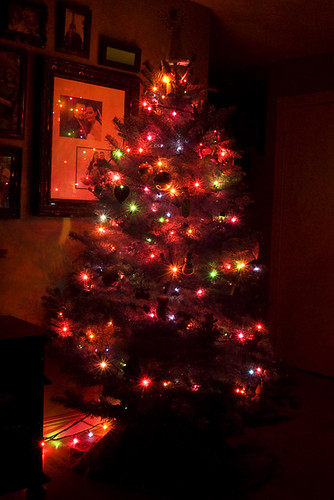
5. Christmas Tree Image shot at f/25, ISO 800, 30ss, 18-70mm @ 25mm
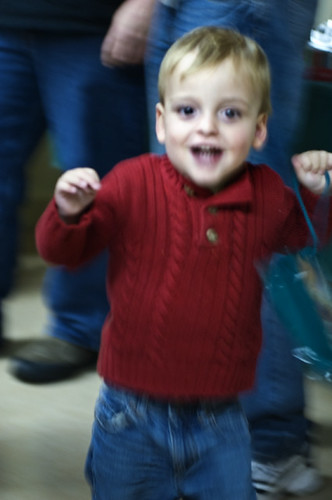
6. Excitement Image shot at f/2.8, ISO 800, 1/20ss, 35-70 @ 70
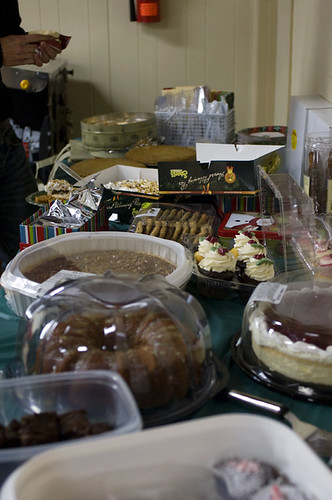
7. Parties Image shot at f/3.2, ISO 800, 1/50ss, 35-70 @ 35mm
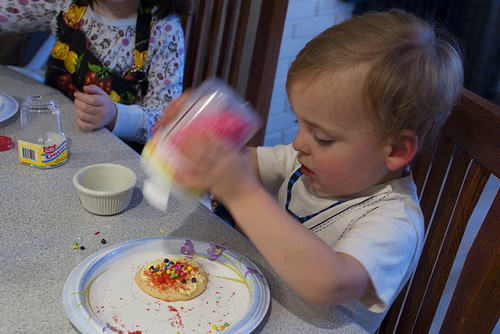
8. Cookie Decorating Image shot at f/5, ISO 800, 1/40ss, 35-70 @ 35
9. Presents Image shot at f/2.5, ISO 800, 1/15ss, 85mm
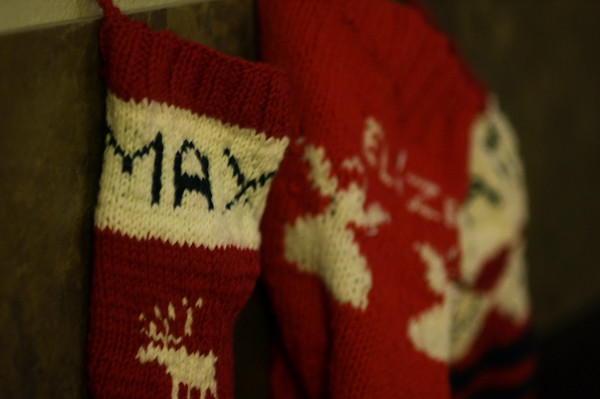
10. Stockings Image shot at f/1.8, ISO 800, 1/10ss, 85mm
Monday, December 13, 2010
Photographing Ornaments
I've always gotten ornaments for Christmas, and it's a tradition we've continued as a couple and now as a family. A couple of years ago, as we were decorating our tree, I realized that I was starting to forget some of the stories that go with the ornaments, so I've been wanting to photograph them all, and then write down the stories that go with them
I found myself with a little time last night, and decided to start shooting... I took pictures of each ornament as it hung on the tree, and I got stuff like this:
It's not terrible, but I knew I could do better.
And today, I did! Check it out!
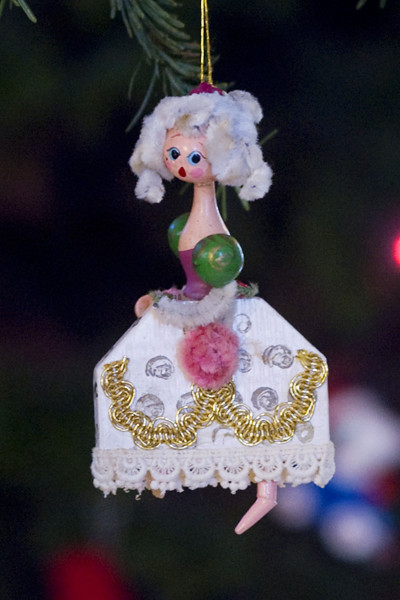
What's different? Well, let me show you! First things first, I took the ornament off the tree!
Let me show you my setup:
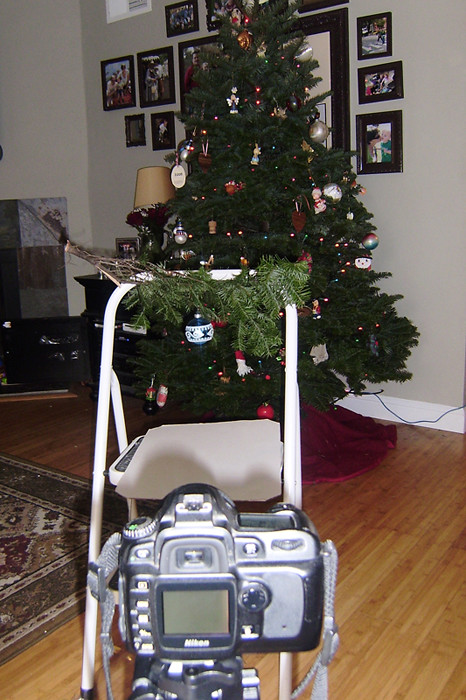
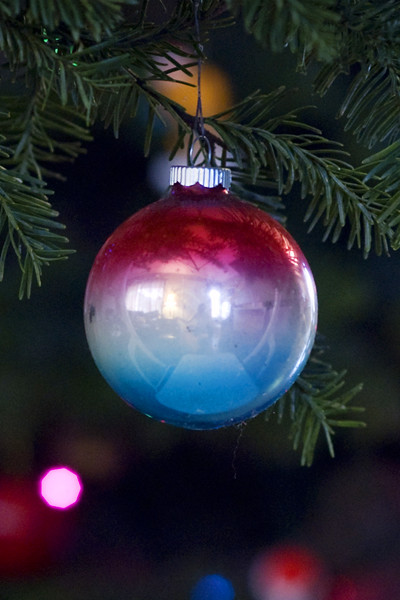
See it? So I took a spare branch that we'd trimmed off the tree, and using a couple of zip ties, I attached it to the top crossbeam of our old stepstool. Next, I positioned it about 5 feet away from the tree, and put my camera on the tripod about 3 feet from the stepstool. (I shot at f/3.5, ISO 800 (Probably could have gone a little lower), using an 85mm lens) I hung my ornaments on the branch attached to the stepstool and shot my little heart out!
By moving the focal point (the ornament of the moment) further away from the background (the Christmas tree) I was able to get some lovely Christmas-ey bokeh in the background, but the little bits of branch around the ornament pull it all together for a nice cohesive look.
I can't wait to get them all finished, but here are a few more for some inspiration! (I'd love to see your photos if you do a similar set-up!)
Friday, December 10, 2010
Week 9 - Portraits
This week is covering portraits; again, as these weeks go on, they get a little more and more vague... but here's basically the assignments.
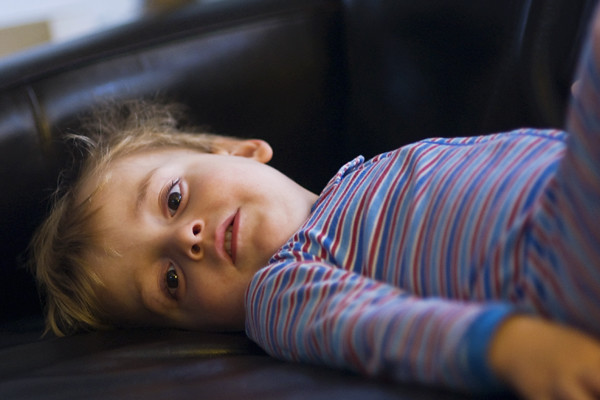
Portrait of an individual - I shot a few that would count for this over the last week or so, so I've got a few that, IMO, all count as "portraits"
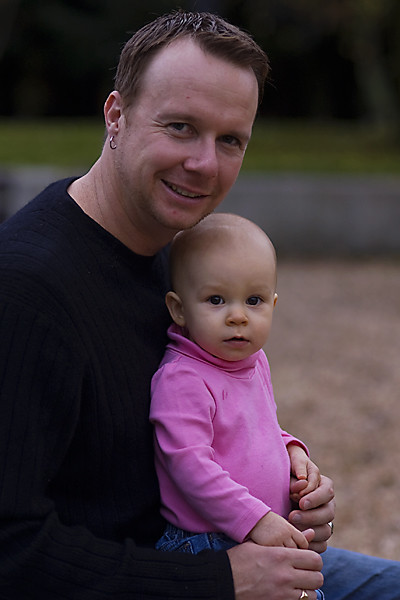
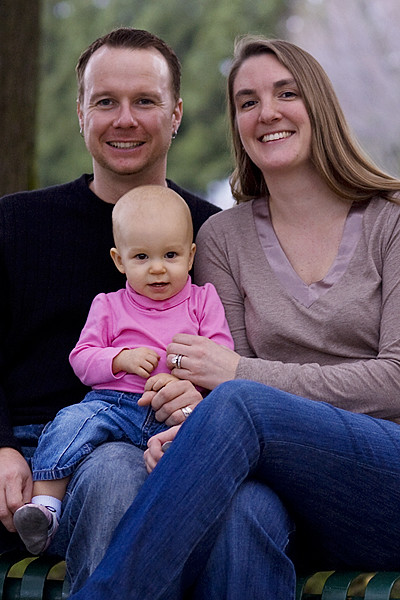
Portrait of a group - I was limited to families for my "groups" but I'm happy with them!
A "keep it casual" group portrait
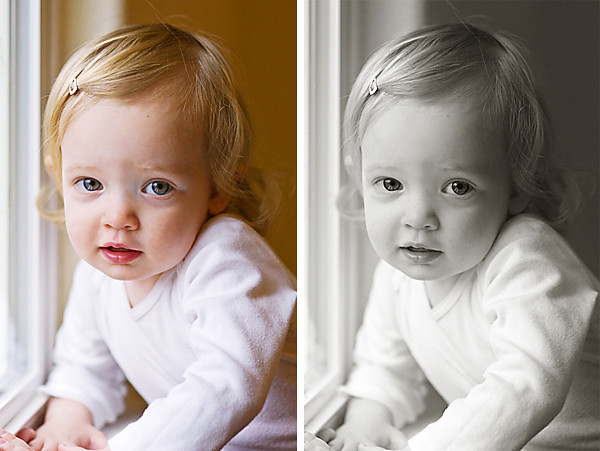
Convert a portrait to black and white (I used the FREE Creamy Chocolate B&W action from the CoffeeShop Blog... love it!)
Portrait of an individual - I shot a few that would count for this over the last week or so, so I've got a few that, IMO, all count as "portraits"
Image shot at f/2.5, ISO 800, 85mm
Image shot at f/2.8, ISO 400, 35-70mm @ 52mm
Image shot at f/1.8, ISO 800, 85mm
Image shot at f/2.8, ISO 400, 35-70mm @ 52mm
Image shot at f/1.8, ISO 800, 85mm
Portrait of a group - I was limited to families for my "groups" but I'm happy with them!
A "keep it casual" group portrait
Convert a portrait to black and white (I used the FREE Creamy Chocolate B&W action from the CoffeeShop Blog... love it!)
Sunday, December 5, 2010
I Heart Faces - Self Portrait
"Scar tissue is stronger than regular tissue.
Realize the strength, move on."
-Henry Rollins
Realize the strength, move on."
-Henry Rollins
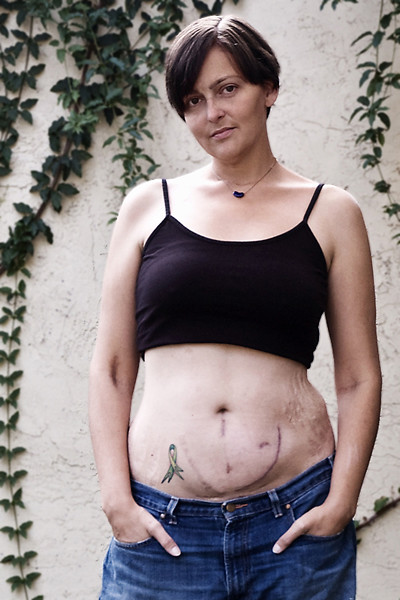
Self-portrait, huh? I'll admit it; my first inclination was to take a super adorable shot of myself mugging for the camera, like the school photo I never had.
But then I started thinking more; what did I want this photo to *say*?
My portrait for this week is about more than just my face. The stretch marks, the surgical scars, the tiny dots left by large-gauge IVs... all of them, a roadmap to my life, starting with my kidney failure (and almost instant 150 lb. weight gain) in 2001, then my first transplant in 2004 (commemorated by the green ribbon tattoo) to the c-section that brought my son in 2008, the catheter I used for dialysis for 2 years, and finally the most recent addition, the mark left by my second transplant this past September.
They are as much a part of who I am as my face, and so I share them with you.
This week's I Heart Faces challenge is for self portraits... want to see more great shots?
Click here:
Image shot at f/4.5, ISO 800, 18-70mm @ 40 mm
Saturday, December 4, 2010
Week 8 - On the Go
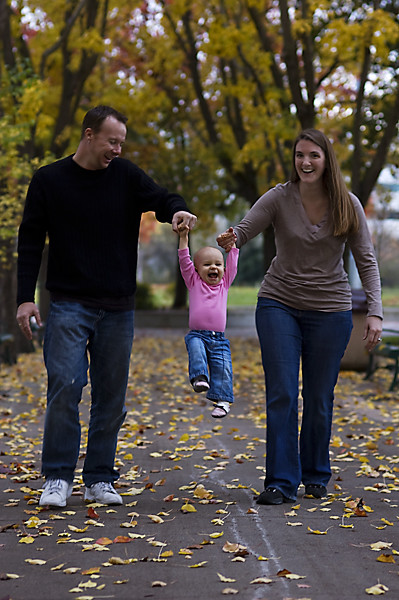
This week was mostly about motion and shooting motion. (I think. The point of the lessons seems to be getting more and more obtuse as the weeks go on...) It covered different approaches to capturing motion, and then the assignments were to practice some of those approaches. (And pet photography. Random, right?)
I don't love any of these photos, really (except the last one, with the puddle), but I was more concerned with getting the concept down than worrying about perfect exposure/shutter speed/post-processing.
I think I got the jist of it, and will certainly be keeping this in mind in the future.
With that said, the photos!
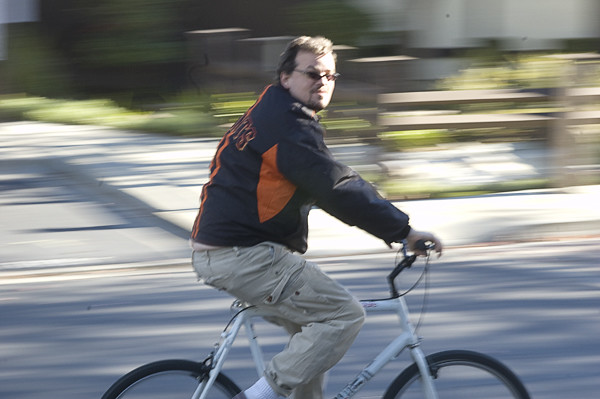
Use the "panning" technique to capture a subject in motion. Panning is having the camera moving at the same speed as the subject, to increase the background blur and emphasize the motion.
Image shot at f/16, 1/25ss, ISO 400, 85mm
Embrace the blur; allow some part of your photo (taken indoors) to go out of focus to show the action/motion in the image
Image shot at f/2.8, 1/13ss, ISO 800, 35-70mm @ 70mm
Catch your pet in action; Geoffrey doesn't do much "action" but this is a nice photo of him! LOL
Image shot at f/1.8, 1/60ss, ISO 800, 85mm
Use a fast shutter speed to freeze the action
Image shot at f/1.8, 1/1600ss, ISO 800, 85mm
I don't love any of these photos, really (except the last one, with the puddle), but I was more concerned with getting the concept down than worrying about perfect exposure/shutter speed/post-processing.
I think I got the jist of it, and will certainly be keeping this in mind in the future.
With that said, the photos!
Use the "panning" technique to capture a subject in motion. Panning is having the camera moving at the same speed as the subject, to increase the background blur and emphasize the motion.
Image shot at f/16, 1/25ss, ISO 400, 85mm
Embrace the blur; allow some part of your photo (taken indoors) to go out of focus to show the action/motion in the image
Image shot at f/2.8, 1/13ss, ISO 800, 35-70mm @ 70mm
Catch your pet in action; Geoffrey doesn't do much "action" but this is a nice photo of him! LOL
Image shot at f/1.8, 1/60ss, ISO 800, 85mm
Use a fast shutter speed to freeze the action
Image shot at f/1.8, 1/1600ss, ISO 800, 85mm
Subscribe to:
Posts (Atom)