This week's subject is/was composition; how you actually frame the subject within the photo. I actually had a LOT of trouble with this assignment! I can't decide why exactly... I think it's a combination of things. First, this is something I'm really comfortable with already, that comes pretty naturally to me, so it's hard to switch to where I'm consiously thinking about it. Also, the assignment was so vague, I had trouble deciding what to do! LOL
The white balance assignment was simple; set an object on the table and take some pictures of it. Same with the aperture one... this is totally open to interpretation, so I had trouble deciding which direction to head in!
In a perfect world, I would have done a shoot with Max; well dressed, clean faced, and just run through the six assigned objectives.
As we all know, none of live in a perfect world, so I've had to make do! Boogery faced Max, a coffee cup, and some pictures I had taken previously are the elements that came together to complete this assignment!
First, the pictures I did manage to get "on purpose" for this challenge:
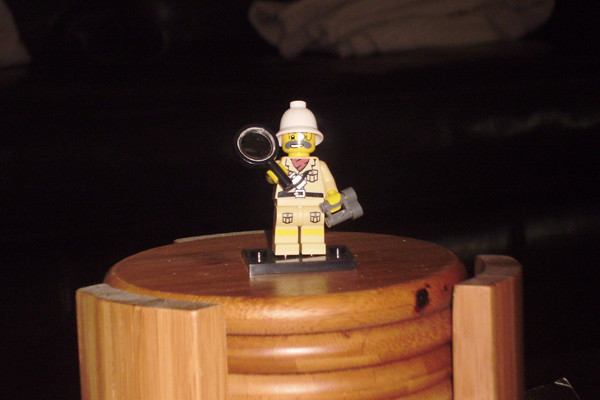
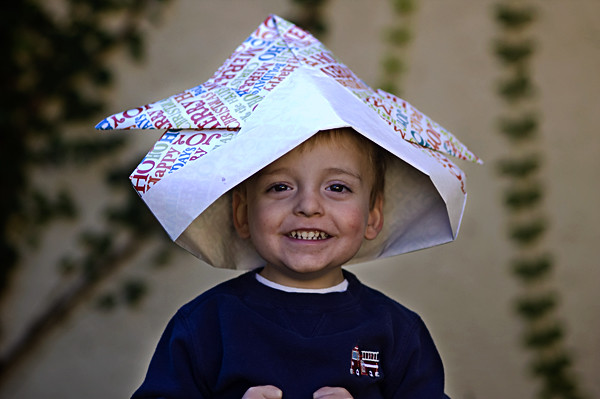
Fill the Frame
Image shot at f/4.5, ISO 800, 18-70mm @ 70mm
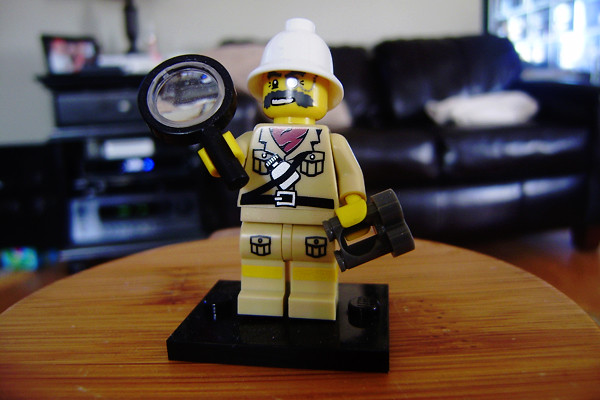
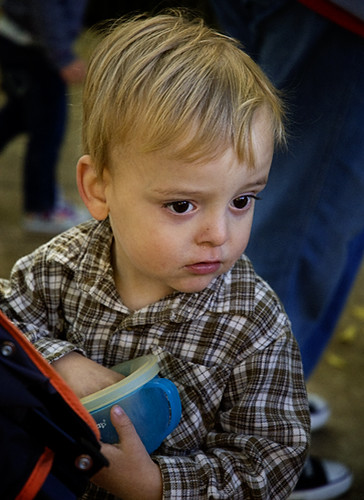
Rule of Thirds
Image shot at f/4.5, ISO 800, 18-70mm @ 48mm
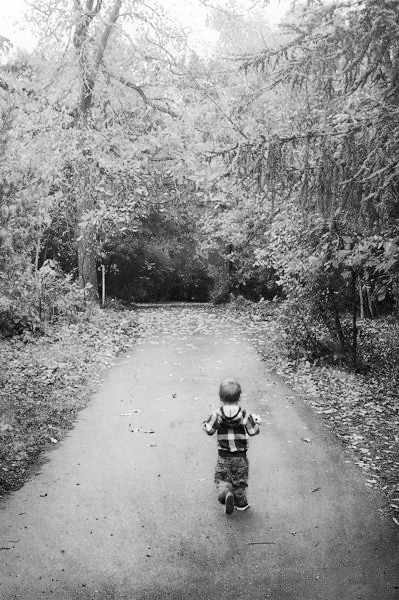
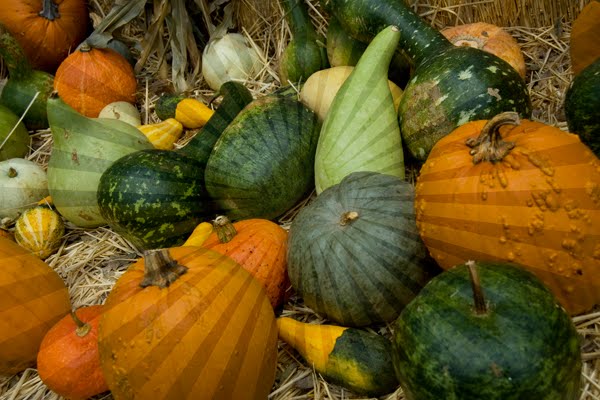
Horizon Line / Rule of Fifths
Image shot at f/3.8, ISO 400, 18-70mm @ 22mmAnd in the interest of full disclosure, I Photoshopped the *hell* out of this picture, because I'm not generally a fan of sunflare/glare, and I wanted to get as much of that effect out of it as I could. I actually think it turned out kind of cool! If you'd like to see the SOOC shot,
click here
And then here are some older/not taken on purpose photos that fit the specs of the assignment:
A New Perspective
We took Max to the beach last month; my instinct and first inclination is to shoot stuff like this:
 Image shot at f/10, ISO 800, 18-55mm @ 52mm
He's my kid, after all, so I want to get good shots of *him*
But look what happens when I make him smaller in the frame, zoom back out, and hold the camera horizontal:
 Image shot at f/13, ISO 800, 18-55mm @ 18mm
It's not just about Max anymore, but about the scene surrounding him as well.
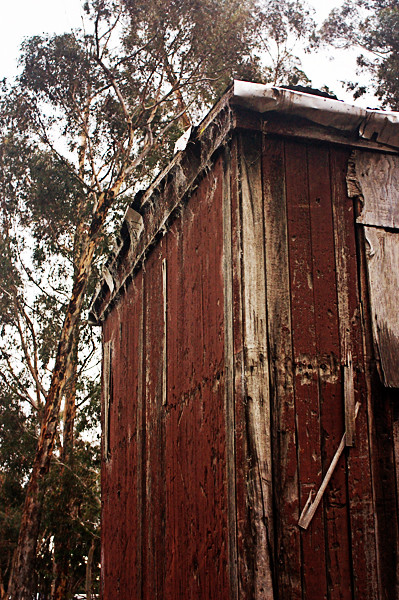
Frame Your Subject
Image shot at f/6.3, ISO 1600, 18-55mm @ 18mm
Keep it Simple
This picture could easily have gone horrible awry; see the little triangle of bench in the bottom left corner? It's attached to a picnic table that is *covered* with food, toys and other detritus. By positioning myself so that that mess is cropped out, I got a darling shot of the boys!
Image shot at f/10, ISO 400, 18-55mm @ 32mm


