
I'd never made an effort to actually play with them, though, because I never felt like my photos were right for them! But again, the purpose of this blog is to add to my knowledge and skillset, so I might as well play with them, right?
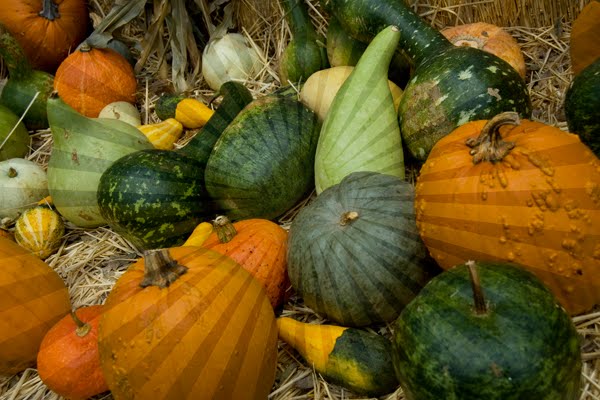
This is a photo I shot at the pumpkin patch over the weekend Shot in RAW at f/6.3, ISO 400, 1/160 SS, 18-55mm @ 30mm
Bringing it into Photoshop, with all RAW setting zero'ed out:

The original image with some ACR (Adobe Camera Raw) adjustments made:

From here, I started adding some different textures to see what they do to the photos; all of these textures were found on Flickr, using the Advanced Search. (Make sure to click the "Creative Commons" licensing button at the bottom, so you can be sure you have permission to use the photos!) If you're already confused, go here for a super easy explanation on how to use textures! Seriously, it's like 3 steps!
Several of these aren't things I'd ever actually use, but for the purposes of this blog entry, I wanted a variety of options, so I'm going to go ahead and include them.
OK, so on to my experiments...


You can also layer the textures together to get even more options! For this one, I used two; the first and fourth ones shown above. I used a fabric texture first, to give the whole photo a nice rich texture and sheen, and then the radiating burst just added a little *oomph* to bring the focus to their faces!

So that's the super mega basics of using textures in Photoshop! I'd love to see what you come up with too!
No comments:
Post a Comment